
WhatsApp channels and customer service
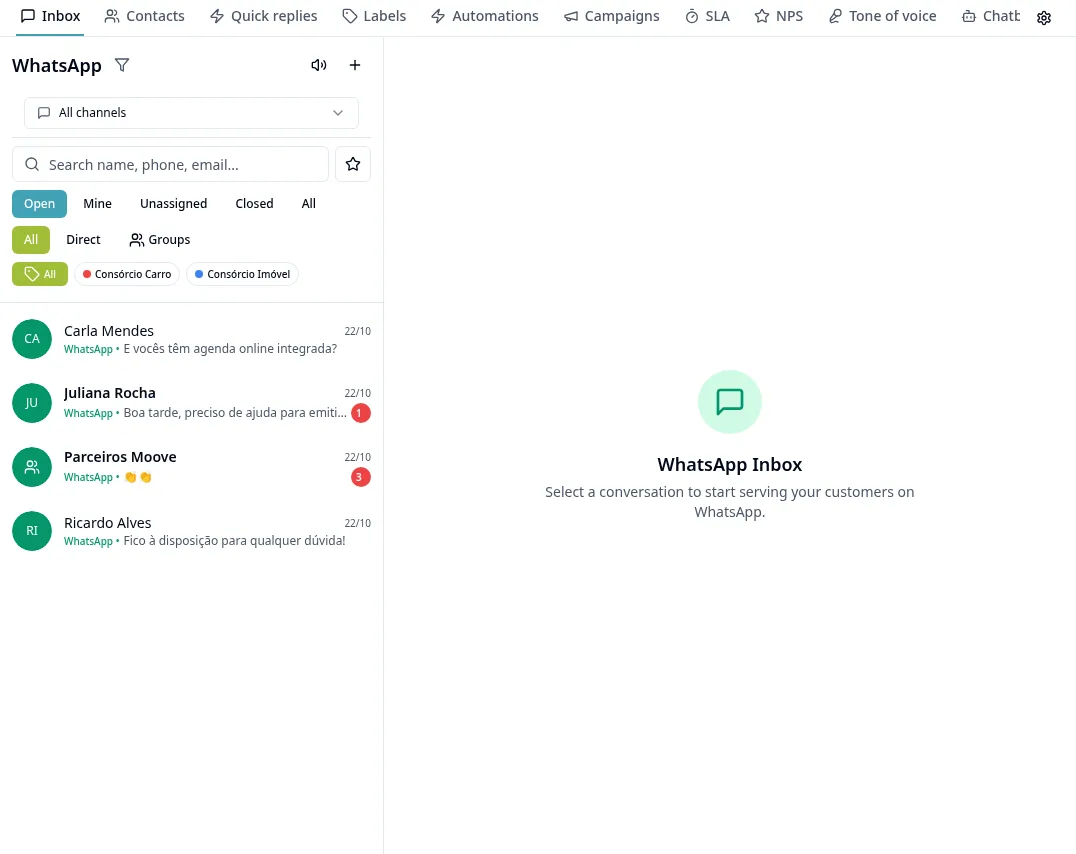
Purpose
Connect the channel, select members and review provider capabilities before serving customers.
Step by step
- 1
Open WhatsApp → WhatsApp Settings and start creating/connecting the channel.
- 2
Choose from the displayed providers and follow the specific workflow (QR or requested authorization/details).
- 3
Configure channel access and members; customer service assignees must belong to the channel.
- 4
Check the connection and open Inbox to find/start the correct conversation.
- 5
Use Contacts, Labels and Quick Replies to organize customer service.
- 6
Review the assignee and context before transferring; check the options allowed by the channel.
- 7
Configure SLA using the SLA tab options and monitor available indicators.
- 8
To reconnect, follow the indicated channel action, keeping the existing channel; do not create another just to recover the session.
- 9
Groups are available with Wasender; Meta/Twilio do not support groups. Message editing/deletion capabilities differ by provider and may only be internal.
Available controls depend on your user permissions and organization settings. If an option is missing, ask the administrator to check your module access.